Web Development Environment
Visit the official websites of these products and proceed with the default installation. If you encounter issues opening them, you may need to allow applications from unidentified developers in macOS settings under Privacy.
- Node (comes with NPM)
- VSCode
- Git
- Chrome (optional)
After installing Git, you need to configure your username and email. Generally, you should sync this with your GitHub or other hosting services.
1git config --global user.name "John Doe"
2git config --global user.email johndoe@example.com
For more information on the initial setup of Git, you can refer to this official article.
Next, generate an SSH key for pushing to version control repositories. Add the public key to GitHub or other hosting platforms. After executing the command, the directory where the public key is located will be displayed.
1ssh-keygen
iOS Development Environment
Tip: Create a folder named Developer under /User/<username>/ to get a unique folder icon. It is recommended to place your projects in this folder and add it to the sidebar.
First, download Xcode from the App Store.
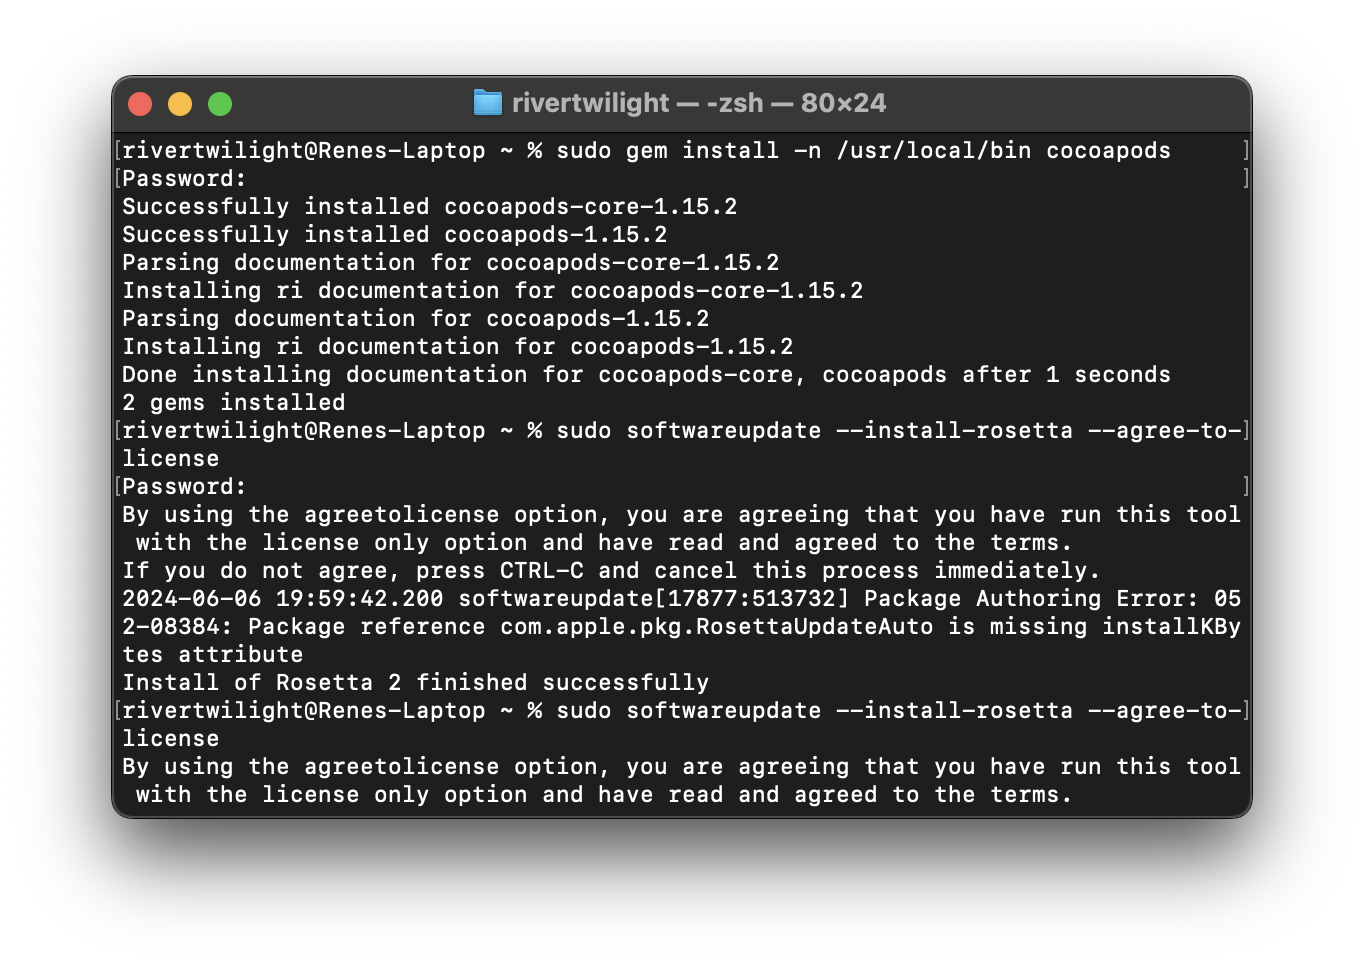
Then, manually install CocoaPods. Execute the command in the first line of the image below to install it. (If a prompt appears indicating that the gem version is insufficient, update it according to the suggested command.)
Flutter Environment
First, install the Rosetta environment. Flutter requires it to run on Apple silicon platforms.
1sudo softwareupdate --install-rosetta --agree-to-license
Then, download the Flutter SDK. You just need to download it and extract it to a location you can easily find. (The recommended path is ~/development/. Of course, you can choose your preferred location.)
Finally, open ~/.zshenv to edit the environment variables after installation.
1export PATH=$HOME/development/flutter/bin:$PATH
Additionally, you can run flutter doctor to check the installation environment.
1flutter doctor
It is recommended to install the official Flutter plugin in VSCode.